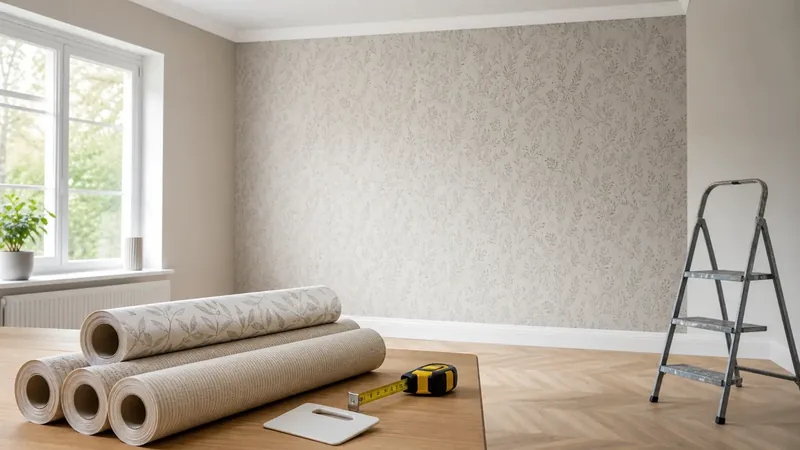

Wallpaper can change the feeling of a room faster than almost any other wall finish. A soft texture can make a bedroom feel calmer, a bold print can turn a powder room into a focal point, and a subtle pattern can give a living room more depth than plain paint. The challenge is that wallpaper rewards careful planning. Unlike paint, each strip has edges, pattern repeats, adhesive, seams, and trimming details that must work together. Beginners can install wallpaper successfully, but the project goes much better when the wall is prepared properly, the layout is planned before cutting, and the material quantity is calculated before the first roll is opened. This guide walks through the full process for DIY homeowners: what tools to gather, how to measure wall area, how to prepare the surface, how to plan the first plumb line, how to cut strips, how to apply adhesive, and how to finish seams and edges cleanly. Before buying rolls, use the [Wallpaper Calculator](/tools/wallpaper-calculator/) to estimate your wall area, roll coverage, and waste allowance so the installation does not stop halfway through the project.
Tools and Materials You Need
A smooth wallpaper installation starts with the right supplies. Read the wallpaper label before buying adhesive because different papers have different backing materials and application methods.
- Wallpaper: Choose enough rolls from the same dye lot whenever possible. Matching dye lots helps avoid small color differences between strips.
- Adhesive: Use the paste recommended by the wallpaper manufacturer. Some products are pre-pasted, some are paste-the-wall, and others require paste-the-paper adhesive.
- Primer: Wallpaper primer or sizing improves adhesion, creates a more even surface, and makes future removal easier.
- Utility knife: Use a sharp blade for trimming at ceilings, baseboards, corners, and outlets. Change blades often because dull blades tear wet paper.
- Measuring tape: Measure wall height, wall width, openings, and pattern repeat before cutting strips.
- Smoothing tool: A plastic smoother or wallpaper brush helps remove air pockets without damaging the surface.
- Seam roller: Use light pressure to close seams after the paper is positioned. Pressing too hard can squeeze out adhesive or flatten textured wallpaper.
Step 1: Measure Your Wall Area
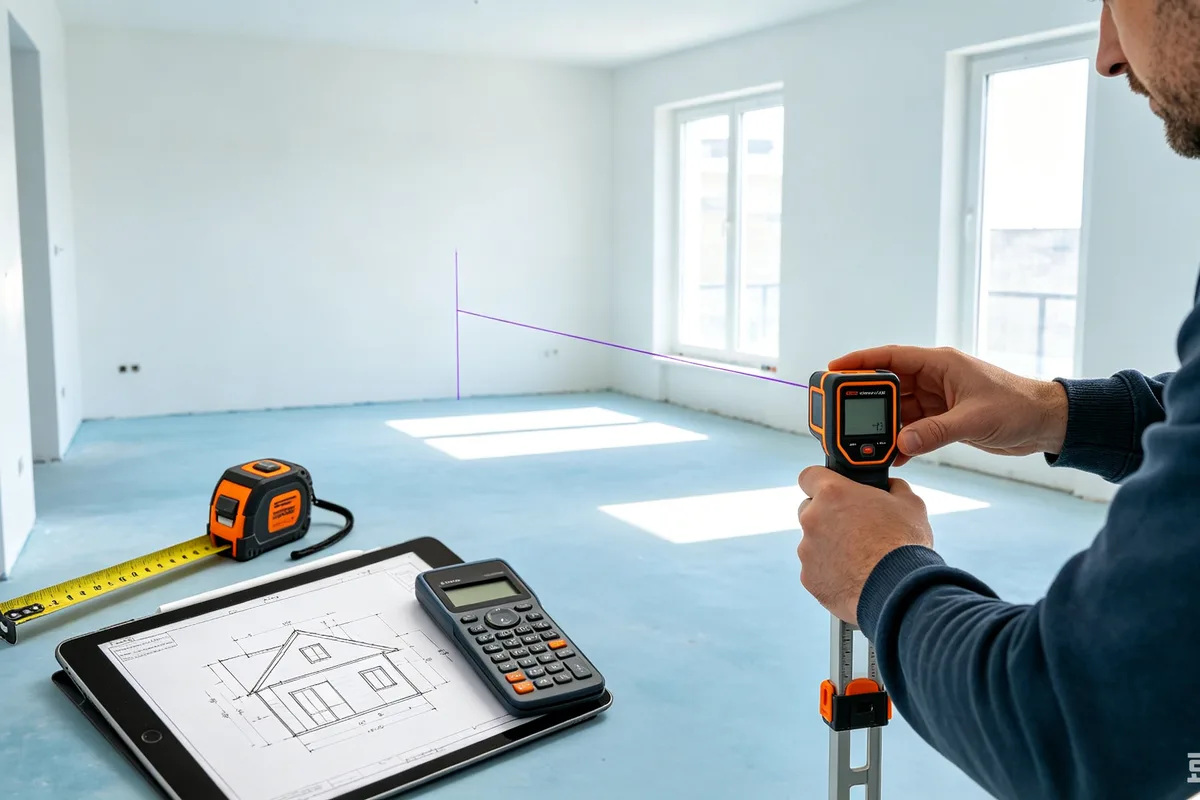
Start by measuring the width and height of each wall you plan to wallpaper. For a simple rectangular room, gross wall area can be estimated by multiplying room perimeter by wall height. If you are covering one feature wall, multiply that wall's width by its height. Subtract large doors, windows, built-ins, or tiled sections only when they will not receive wallpaper. The basic wall area calculation is wall width times wall height, or for a rectangular room: 2 x (room length + room width) x wall height. Once the base wall area is known, compare it with roll coverage and add waste for trimming, pattern matching, and mistakes. The [Wallpaper Calculator](/tools/wallpaper-calculator/) can help turn room dimensions, openings, roll coverage, and waste percentage into a practical roll estimate.
Step 2: Prepare the Wall Surface
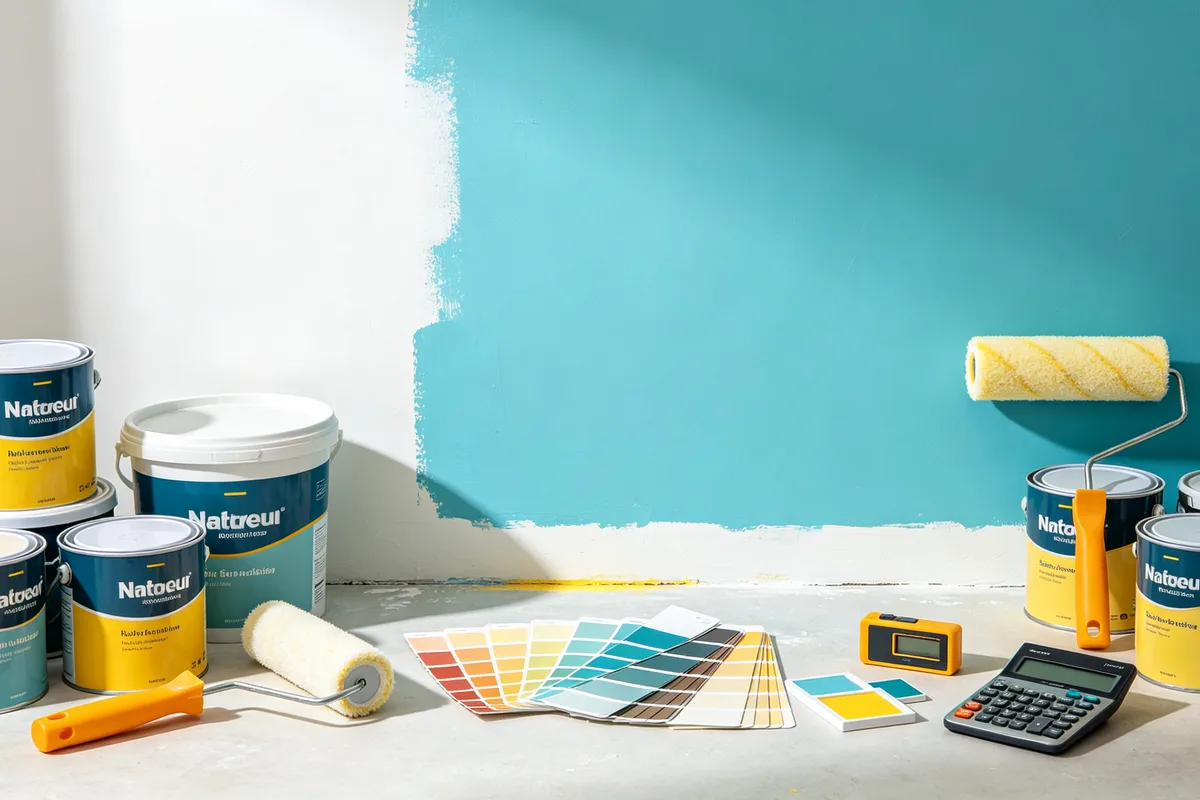
Wallpaper needs a clean, dry, smooth surface. Good preparation is less exciting than hanging the first strip, but it is what keeps seams flat and prevents bubbles from showing through the finished wall.
- Cleaning walls: Remove dust, grease, cobwebs, and residue with a mild cleaner. Rinse if needed and allow the wall to dry fully.
- Repair cracks: Fill cracks, nail holes, dents, and damaged drywall with suitable patching compound. Let repairs cure before sanding.
- Sanding: Sand patched areas and raised paint edges until they are smooth. Wipe away sanding dust before primer.
- Primer: Apply wallpaper primer or sizing so the adhesive bonds evenly and the paper can be adjusted during installation.
Step 3: Plan Wallpaper Layout
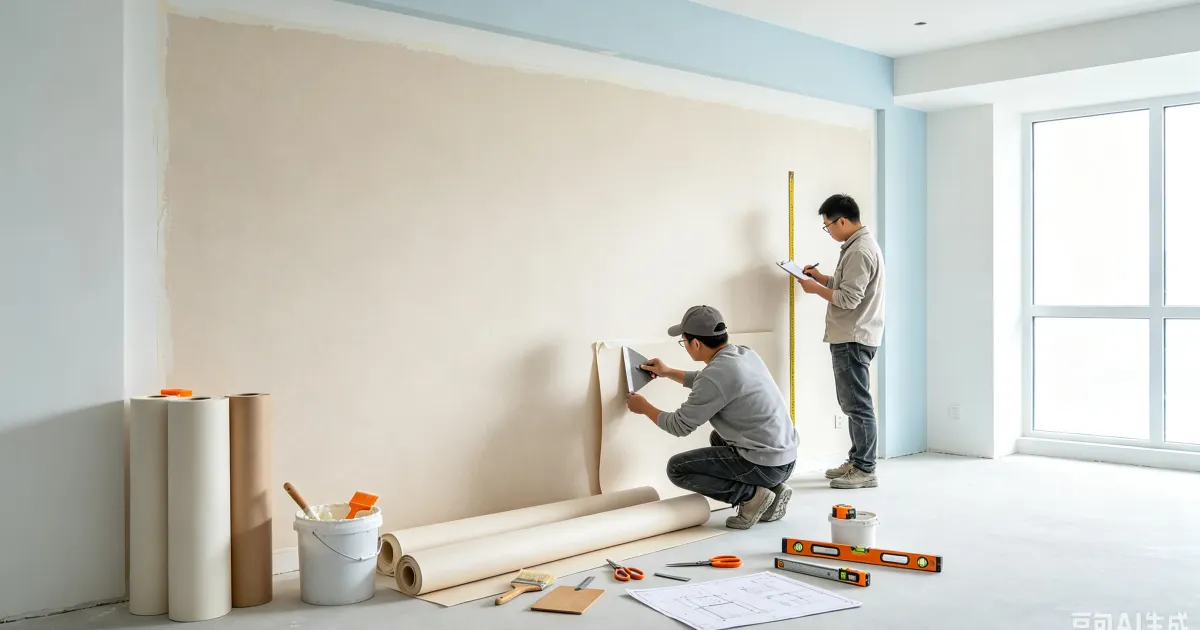
Do not start in a random corner without checking the pattern and the room. Decide where the eye naturally lands when entering the space and avoid placing a narrow final strip in a highly visible area. Many installers start near a corner, behind a door, or at a central focal point depending on the room and pattern. Use a level or laser to draw a vertical guideline for the first strip because corners are rarely perfectly plumb. If the first strip is crooked, every strip after it will drift. For patterned wallpaper, unroll enough material to understand the repeat and match type before cutting. A straight match, drop match, or large repeat can increase waste because each strip must align with the previous one.
Step 4: Cut Wallpaper
Measure the wall height from the ceiling line to the baseboard or trim, then cut each strip longer than the exact wall height. A common beginner-friendly allowance is 2 to 4 extra inches, split between the top and bottom, so the paper can be trimmed cleanly after positioning. If the wallpaper has a pattern repeat, cut strips in sequence and confirm that the design aligns before applying adhesive. Label the back lightly with strip numbers if that helps you keep the order straight. Avoid cutting the entire room at once unless you are confident about the pattern and wall heights. Older homes may have slight height differences from one side of the wall to the other, so checking as you go reduces waste.
Step 5: Apply Wallpaper Adhesive
Wallpaper adhesive method depends on the product. Paste-the-wall wallpaper is often easier for beginners because adhesive is rolled directly onto the wall and the dry paper is placed into it. Paste-the-paper wallpaper requires adhesive on the back of each strip, then a booking period where the pasted sides are folded together so moisture spreads evenly. Pre-pasted wallpaper is activated with water according to the label. Follow the manufacturer's timing closely. Too little adhesive can cause lifting seams, while too much adhesive can stain the face of the paper or make strips slide excessively. Keep a damp sponge nearby and wipe adhesive from the surface before it dries.
Step 6: Install Wallpaper
Position the first strip against your vertical guideline and leave a little extra material at the ceiling and baseboard for trimming. Align the edge carefully before pressing the center of the strip to the wall. Use a smoothing tool to work from the center outward and from top to bottom, pushing air bubbles toward the edges. Do not scrub the surface or stretch the paper. If the strip is badly misaligned, gently lift it while the adhesive is still workable and reset it. The first strip controls the rest of the wall, so take your time here. A well-aligned first strip makes seams easier, pattern matching more predictable, and trimming cleaner.
Step 7: Match Seams and Continue Installation
Hang the next strip beside the first without overlapping unless the wallpaper instructions specifically call for it. Bring the edges together so the seam closes but does not buckle. Check the pattern at eye level first, then smooth the strip into place. Use a seam roller with gentle pressure after the paper is positioned. If adhesive squeezes out, wipe it with a clean damp sponge and dry the area with a soft cloth. Continue across the wall, checking alignment every few strips. Small errors can compound, especially around corners, windows, and doors. For inside corners, many installers wrap slightly around the corner and begin the next wall with a fresh plumb line.
Step 8: Trim Edges
Once a strip is smoothed and seated, trim the top and bottom using a sharp utility knife and a straightedge or smoothing tool as a guide. Cut slowly and replace the blade often. Wet wallpaper tears easily when a blade is dull. Trim around outlets, switches, windows, and doors only after turning off power where electrical plates are removed. Cut small openings first, then enlarge carefully so cover plates or trim hide the edge. Clean excess adhesive from trim, ceilings, and the wallpaper face before it dries.
Step 9: Allow Wallpaper to Dry
After installation, let the wallpaper dry naturally according to the product instructions. Avoid heavy drafts, high heat, or direct fans aimed at the wall because uneven drying can stress seams. Keep the room at a stable indoor temperature and normal humidity. Some small bubbles disappear as the adhesive dries, but large trapped bubbles may need attention while the paste is still workable. Wait before moving furniture tightly against the wall, hanging artwork, or cleaning the surface. Full drying commonly takes 24 to 48 hours, but conditions and wallpaper type can change that timing.
Common Wallpaper Installation Mistakes
Most beginner wallpaper problems come from rushing measurements or preparation rather than from the hanging step itself.
- Poor wall preparation: Dust, grease, cracks, gloss paint, and rough patches can cause bubbles, weak adhesion, and visible imperfections.
- Wrong measurements: Using floor area instead of wall area or forgetting openings can lead to an incorrect roll order.
- No extra wallpaper: Ordering exactly the calculated area leaves no room for trimming, pattern repeat, damaged strips, or future repairs.
- Incorrect seam alignment: Pushing seams together too tightly can cause ridges, while leaving gaps exposes the wall color beneath.
How Much Wallpaper Do You Need?
A simple planning formula is: Total Wallpaper Area divided by Coverage Per Roll. For example, if your adjusted wall area is 330 sq ft and each roll covers 56 sq ft, the base estimate is 330 / 56 = 5.9 rolls, which rounds up to 6 rolls before considering pattern and layout conditions. In real projects, add a 10%-15% waste allowance for trimming, pattern matching, damaged pieces, and future repairs. Large patterns, drop matches, tall walls, many corners, and first-time DIY installation can justify the higher end of that range. Use the [Wallpaper Calculator](/tools/wallpaper-calculator/) to estimate base wallpaper area, waste allowance, total required area, and rolls required from your room dimensions and roll coverage.
Final Tips
Work slowly, keep hands and tools clean, and finish one strip correctly before moving to the next. Check the label for booking time, adhesive type, cleaning instructions, and batch numbers. Buy all rolls at the same time when possible, and keep at least one labeled leftover section for future repairs. If the wall has moisture problems, loose paint, severe texture, or structural cracking, fix those issues before installing wallpaper. For large rooms, expensive paper, murals, or complex patterns, consider practicing on a small wall or hiring a professional installer. For planning quantities before you shop, use the HomeCalcPro [Wallpaper Calculator](/tools/wallpaper-calculator/) to estimate the material needed and reduce avoidable shortages.