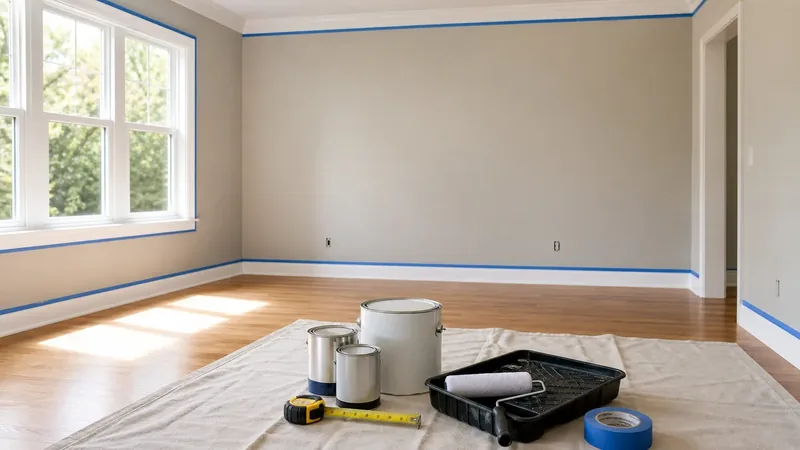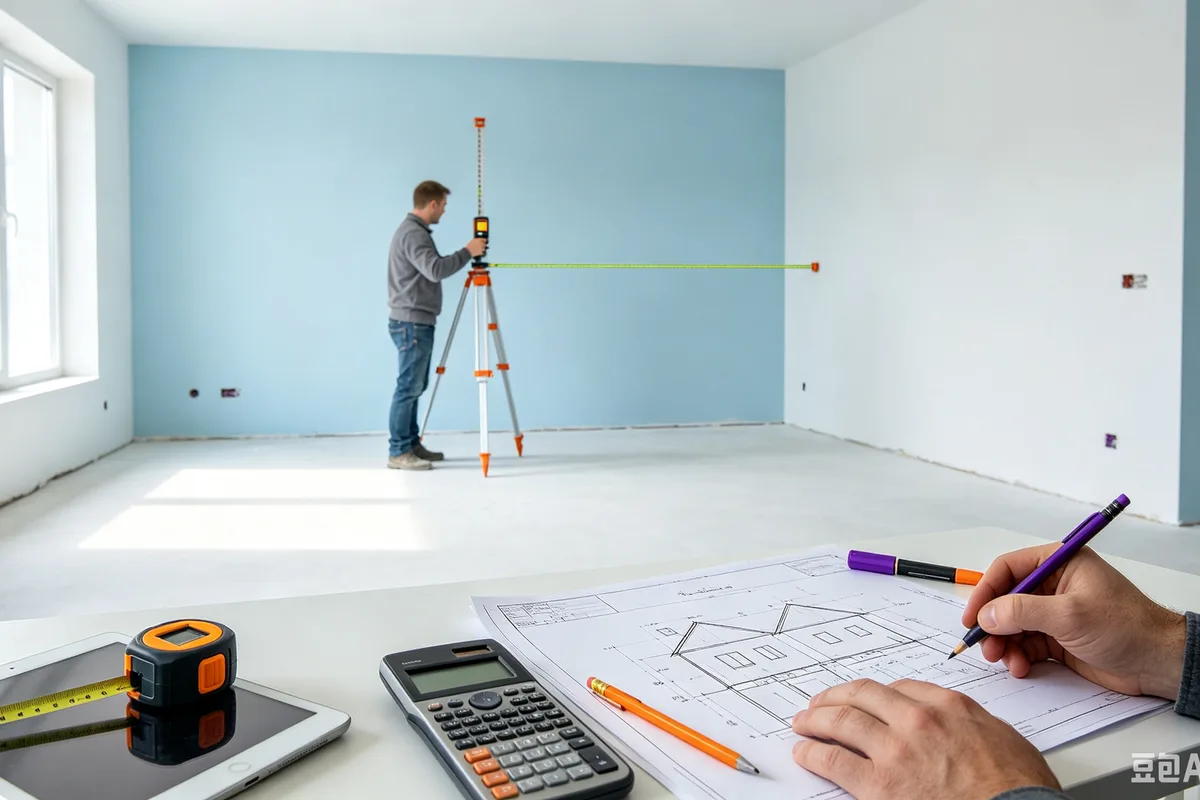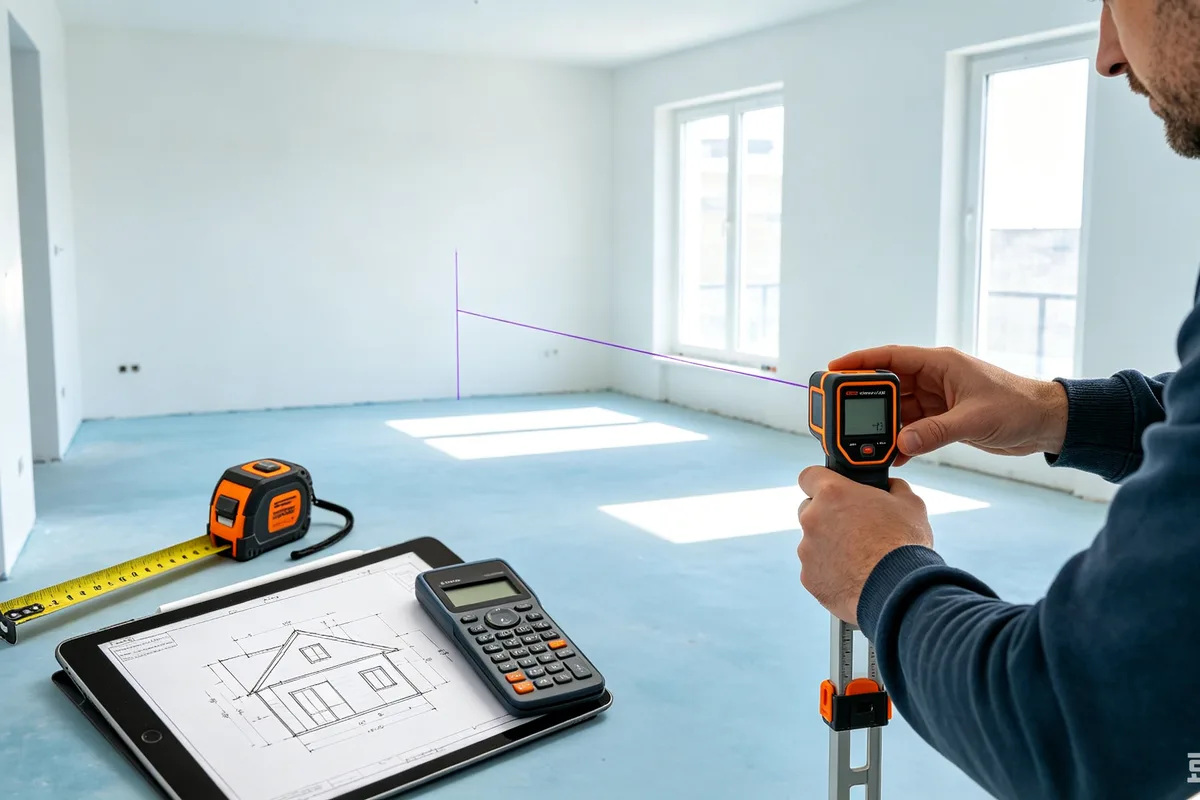

Wall area is the foundation of a reliable paint estimate. Homeowners often multiply room length by width and accidentally calculate the floor, even though paint is applied to vertical surfaces determined by wall width and height. A correct wall calculation helps compare painter quotes, budget for primer and finish coats, and avoid running out of a custom color halfway through the room. This guide shows two dependable methods: measuring every wall separately or using the perimeter of a rectangular room. It also explains when to subtract doors and windows, how to handle sloped ceilings, stairwells and feature walls, and how to convert the result between square feet and square meters. The calculation itself is straightforward, but careful notes matter. Record every dimension with its unit, identify which surfaces will receive each color, and keep ceilings, trim and doors separate when they use different coatings. Once the paintable area is known, a paint calculator can combine it with product coverage and coats to estimate a purchase quantity.
Wall Area Is Different from Floor Area
A room’s floor area describes the horizontal space inside it. Wall area describes vertical rectangles surrounding that space. Two rooms with identical floor area can have different paint requirements when their shapes or ceiling heights differ. Perimeter captures the combined wall widths of a rectangular room, and multiplying perimeter by height creates gross wall area. Individual-wall measurement is more flexible for partial projects and unusual geometry. Keep the estimate tied to a real purchase decision: the package size on the shelf, the coverage printed on the label, and the waste created by cuts, seams, edges, or uneven surfaces. A short note with room dimensions, units, product coverage, and waste allowance makes it easier to compare store quotes and catch a bad assumption before materials are ordered.
What to Measure Before You Calculate
Measure the finished surface the material will actually cover. Use one unit system, label each wall or floor section on a quick sketch, and keep product coverage beside the measurement notes. Use a metal tape or laser measure, keep the tool level, and label each wall on a simple sketch so windows and doors remain associated with the correct surface.
- Every wall width: Measure corner to corner at the intended paint surface, not from a floor-plan estimate.
- Wall height: Check more than one location when floors or ceilings may be uneven.
- Opening dimensions: Record width and height for large doors, windows, built-ins, and unpainted panels.
- Sloped sections: Divide triangular or trapezoid gables into basic shapes rather than using average height blindly.
- Paint boundaries: Note feature walls, wainscoting, cabinets, tile, and areas using a second color.
Wall Paint Area Formulas
For a rectangular room, calculate perimeter and multiply by wall height. For irregular rooms or selected walls, calculate each rectangle and add them. Subtract only openings that will remain unpainted. Keep the unit used for area or volume consistent with the manufacturer's coverage information. Carry the calculated quantity forward, apply the waste or contingency allowance, then round up to the package, roll, container, sheet, bundle, or delivery quantity that can actually be purchased.
Step 1: Rectangular Room Walls
Wall Area =
gross wall area = 2 × (length + width) × wall height
This covers four full-height walls.
Step 2: Net Paintable Area
Paint Needed =
net paintable area = gross wall area − unpainted opening area
Keep ceilings and trim separate.
Step 3: Unit Conversion
Paint Needed =
square feet = square meters × 10.7639
Coverage and area must use the same units.
Wall Area Example with Openings
A homeowner measures a 15 ft by 11 ft room with 9 ft walls, one 21 sq ft door and two windows measuring 12 sq ft each.
- Perimeter = 2 × (15 + 11) = 52 ft
- Gross wall area = 52 × 9 = 468 sq ft
- Opening area = 21 + 12 + 12 = 45 sq ft
- Net paintable wall area = 468 − 45 = 423 sq ft
- Enter 423 sq ft, the paint coverage and planned coats into the paint estimate
Factors That Change the Final Quantity
The formula gives the baseline. These jobsite details decide whether that baseline is enough for the actual order:
- Changing ceiling height: Vaulted rooms require separate rectangles and triangles rather than one height.
- Feature walls: Calculate the accent wall independently so each color has its own quantity.
- Wainscoting and tile: Subtract permanent surfaces only when they will remain unpainted.
- Closets: Include closet walls when they are part of the painting scope.
- Stairwells: Measure tall and angled sections individually and prioritize safe access.
Practical Tips for Homeowners
These checks are small, but they are the kind that prevent an extra store run halfway through a Saturday project:
- Draw a wall schedule: Give every wall a letter and record width, height, openings and color.
- Measure twice: Repeat unusual dimensions before relying on them for a large order.
- Stay consistent: Convert inches to decimal feet or centimeters to meters before multiplying.
- Round dimensions carefully: Keep reasonable precision through the area calculation and round the final material quantity.
- Photograph complex walls: A reference photo helps explain alcoves and slopes when requesting a quote.
Common Estimating Mistakes to Avoid
The math is usually simple. The expensive mistakes come from weak measurements, optimistic coverage, and rounding too early:
- Calculating the floor: Length times width is useful for flooring and ceilings, not four walls.
- Mixing units: Feet multiplied by inches or meters by centimeters produces an unusable result.
- Using one height everywhere: Vaults, soffits, and steps may change the true painted surface.
- Double-counting corners: Measure each wall face once; corner lines do not add area.
- Subtracting painted doors: A door should not be deducted when it will receive paint, though its product may be separate.
Turning the Estimate into a Material Order
Use the Room Area Calculator to confirm basic room dimensions and perimeter, then transfer the wall measurements to the Paint Calculator. Separate calculations for walls, ceiling, trim, doors and accent colors create a clearer shopping list. Compare the calculated requirement with the exact product specification, because nominal sizes and advertised coverage can differ from usable coverage. Round up to purchasable units and keep matching products, such as paint batches, wallpaper dye lots, flooring colors, or tile shades, in one order. For expensive, structural, hazardous, or unusually shaped projects, have a qualified supplier or contractor review the dimensions and assumptions before purchase.
Final Calculation Checklist
Before buying, confirm that the estimate answers the actual renovation question and includes every relevant surface or section.
- Measurements: All dimensions were checked twice and recorded with units.
- Project scope: Openings, closets, transitions, separate surfaces, and excluded areas were handled deliberately.
- Product data: Coverage, package size, pattern repeat, yield, or usable dimensions came from the selected product.
- Extra material: Waste or contingency reflects the layout, surface, installer experience, and repair needs.
- Final rounding: The result was rounded up to whole purchasable units after all adjustments.