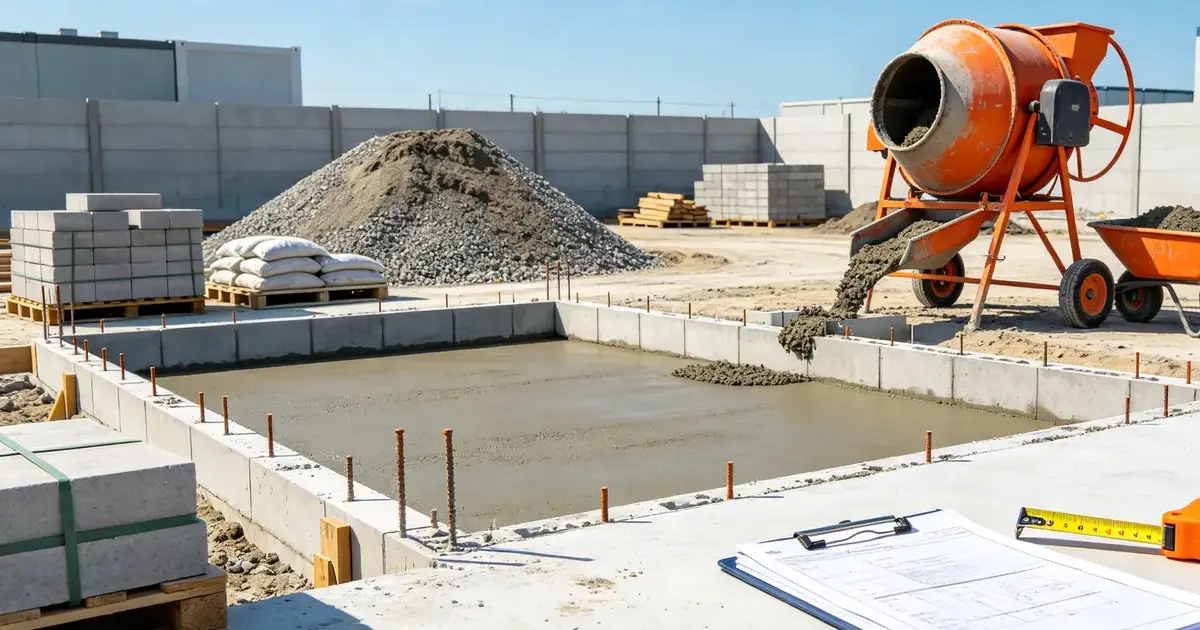

Concrete must be placed continuously enough to create the intended slab, footing, walkway, or base, so running short during a pour is more serious than having a spare board or tile. A reliable estimate begins with finished length, width and depth, converts those dimensions into cubic volume, and adds contingency for uneven excavation, spillage and form movement. This guide explains the rectangular volume formula, unit conversion between cubic feet, cubic yards and cubic meters, and the difference between estimating ready-mix and premixed bags. It is intended for homeowner projects such as shed bases, small patios, walkways and non-engineered pads. Structural foundations, load-bearing work and code-regulated projects require professional design, correct reinforcement, specified concrete strength and permits. Before calculating, inspect the form or excavation at several points rather than relying on one depth. Keep all dimensions in the same unit and use the actual yield printed on a bag or supplier quote. The Concrete Calculator speeds up conversions, but field measurements and a sensible contingency remain essential to a successful order.
Concrete Is Ordered by Volume
Concrete fills three-dimensional space, so square footage alone is incomplete. A shallow slab and a deep footing with the same top area require very different quantities. Ready-mix is commonly ordered in cubic yards or cubic meters, while premixed bags advertise an approximate yield. Volume must be calculated before weight or bag count can be estimated. Water added on site should follow the product instructions rather than being used to stretch insufficient material. Keep the estimate tied to a real purchase decision: the package size on the shelf, the coverage printed on the label, and the waste created by cuts, seams, edges, or uneven surfaces. A short note with room dimensions, units, product coverage, and waste allowance makes it easier to compare store quotes and catch a bad assumption before materials are ordered.
What to Measure Before You Calculate
Measure the finished surface the material will actually cover. Use one unit system, label each wall or floor section on a quick sketch, and keep product coverage beside the measurement notes. Measure inside the forms or the finished excavation. Check depth at several locations and divide irregular work into simple rectangular sections.
- Finished length: Measure the full inside dimension of each slab, footing or rectangular section.
- Finished width: Use the actual formed width rather than a rough project description.
- Depth or thickness: Measure several points and follow the designed minimum thickness.
- Separate shapes: Calculate steps, thickened edges and footings independently before adding volumes.
- Product yield: Use cubic volume per bag from the selected mix, not bag weight alone.
Concrete Volume and Bag Formulas
Multiply consistent dimensions to obtain cubic volume. Convert to the supplier’s unit, apply contingency, and divide by actual bag yield when using premix. Keep the unit used for area or volume consistent with the manufacturer's coverage information. Carry the calculated quantity forward, apply the waste or contingency allowance, then round up to the package, roll, container, sheet, bundle, or delivery quantity that can actually be purchased.
Step 1: Rectangular Volume
Wall Area =
volume = length × width × depth
Feet create cubic feet; meters create cubic meters.
Step 2: Cubic Yards
Paint Needed =
cubic yards = cubic feet ÷ 27
Ready-mix suppliers may have minimum orders.
Step 3: Premixed Bags
Paint Needed =
bags = round up(adjusted volume ÷ yield per bag)
Read the yield for the exact bag size.
Small Patio Concrete Example
A rectangular patio is 12 ft long, 10 ft wide and 4 in thick. The homeowner wants a 10% contingency.
- Convert depth: 4 in ÷ 12 = 0.333 ft
- Volume = 12 × 10 × 0.333 = about 40 cu ft
- Cubic yards = 40 ÷ 27 = 1.48 yd³
- Adjusted volume = 1.48 × 1.10 = 1.63 yd³
- Discuss a practical ready-mix order with the supplier and do not round down below required volume
Factors That Change the Final Quantity
The formula gives the baseline. These jobsite details decide whether that baseline is enough for the actual order:
- Uneven base: Low spots consume extra concrete even when average depth appears correct.
- Form movement: Poorly braced forms can increase volume and compromise dimensions.
- Spillage: Transport, mixing and placement create normal loss.
- Thickened sections: Edges, beams and footings must be calculated separately.
- Supplier policies: Minimum loads, short-load fees and truck access affect the ordering decision.
Practical Tips for Homeowners
These checks are small, but they are the kind that prevent an extra store run halfway through a Saturday project:
- Prepare before delivery: Forms, reinforcement, tools, labor and access should be ready before concrete arrives.
- Check depth repeatedly: Use a marked probe or grade reference across the entire base.
- Confirm mix specification: Strength, exposure, air entrainment and curing requirements are project-specific.
- Plan placement: Know how concrete will move from truck or mixer to every part of the form.
- Protect the cure: Weather and moisture control after finishing affect long-term performance.
Common Estimating Mistakes to Avoid
The math is usually simple. The expensive mistakes come from weak measurements, optimistic coverage, and rounding too early:
- Leaving inches unconverted: Multiplying feet by inches produces the wrong cubic result.
- Using area only: Square feet must be multiplied by thickness to become volume.
- Buying by bag weight: Different mixes and bag sizes have different stated yields.
- Skipping contingency: An exact geometric quantity may not fill an imperfect site.
- Adding excess water: Water does not safely compensate for a shortage and can weaken concrete.
Turning the Estimate into a Material Order
Use the Concrete Calculator for each simple section and add the results. Compare adjusted volume with ready-mix availability and bag yield, while considering access, mixing capacity, working time and the consequences of a cold joint. Compare the calculated requirement with the exact product specification, because nominal sizes and advertised coverage can differ from usable coverage. Round up to purchasable units and keep matching products, such as paint batches, wallpaper dye lots, flooring colors, or tile shades, in one order. For expensive, structural, hazardous, or unusually shaped projects, have a qualified supplier or contractor review the dimensions and assumptions before purchase.
Final Calculation Checklist
Before buying, confirm that the estimate answers the actual renovation question and includes every relevant surface or section.
- Measurements: All dimensions were checked twice and recorded with units.
- Project scope: Openings, closets, transitions, separate surfaces, and excluded areas were handled deliberately.
- Product data: Coverage, package size, pattern repeat, yield, or usable dimensions came from the selected product.
- Extra material: Waste or contingency reflects the layout, surface, installer experience, and repair needs.
- Final rounding: The result was rounded up to whole purchasable units after all adjustments.