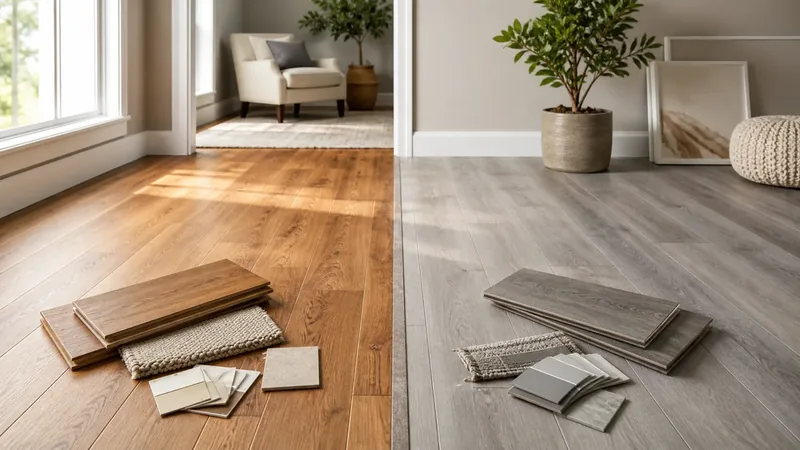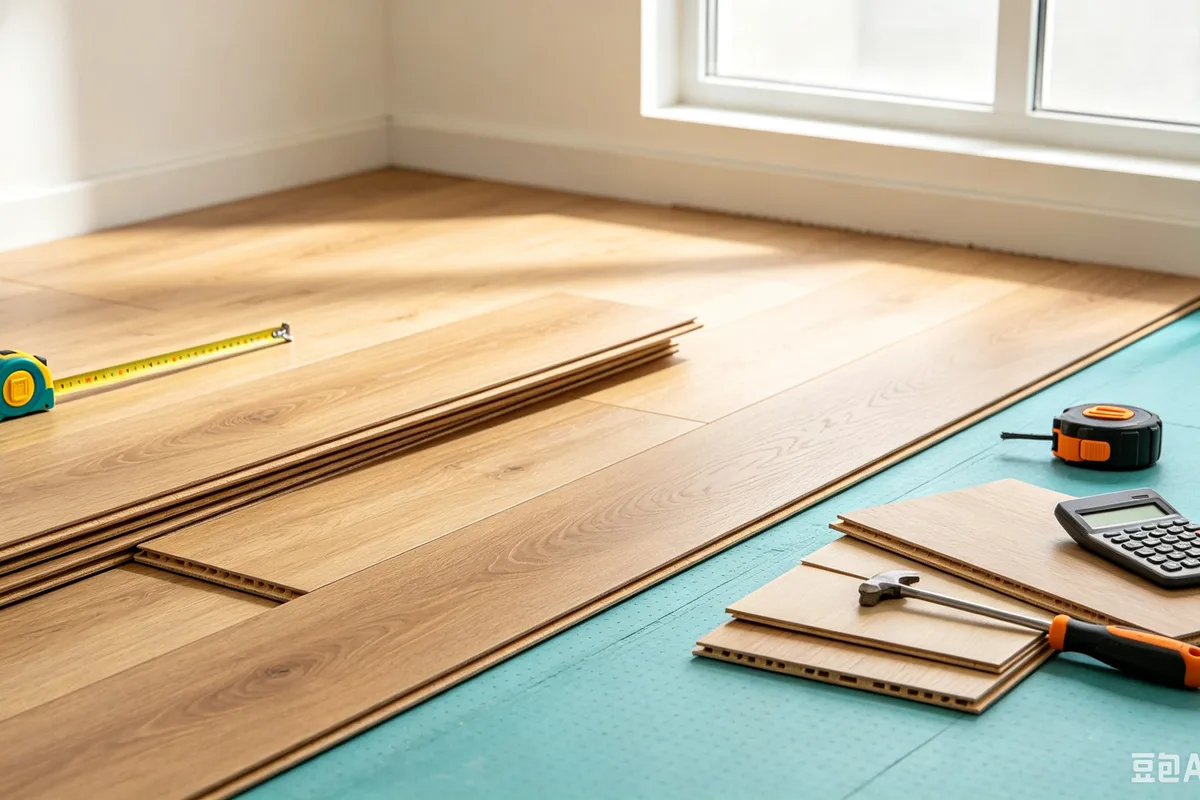

Flooring is sold by area, but homeowners purchase whole boxes, cartons or rolls. A reliable estimate therefore begins with measured floor area, adds installation waste, and rounds up using the exact package coverage of the selected product. This guide explains how to measure rectangular and irregular rooms, include closets and connected spaces, handle permanent cabinets, choose a waste allowance, and calculate the number of packages. The method applies to hardwood, laminate, luxury vinyl, engineered flooring and many other products, although carpet and tile have additional layout considerations. Accurate planning helps keep products from one production lot, reduces delivery surprises, and leaves a reasonable amount for later repairs. It also prevents the opposite problem: ordering excessive material that cannot be returned after boxes are opened. Create a simple floor sketch, label every section, and measure finished wall to finished wall at floor level. Use the Flooring Calculator to check the arithmetic, then replace standard package assumptions with the coverage printed on the exact carton you intend to buy.
Floor Area, Waste and Package Coverage
Net floor area is the space that will actually receive flooring. Purchase area is net area increased for cuts, board selection, layout and spare material. Package count converts purchase area into whole boxes. Each step answers a different question, so do not stop at room square footage. A diagonal or patterned layout needs more extra material than straight installation in a simple rectangle. Keep the estimate tied to a real purchase decision: the package size on the shelf, the coverage printed on the label, and the waste created by cuts, seams, edges, or uneven surfaces. A short note with room dimensions, units, product coverage, and waste allowance makes it easier to compare store quotes and catch a bad assumption before materials are ordered.
What to Measure Before You Calculate
Measure the finished surface the material will actually cover. Use one unit system, label each wall or floor section on a quick sketch, and keep product coverage beside the measurement notes. Measure every connected section receiving the product, including closets and alcoves. Keep rooms separate when they use different flooring, direction or production lots.
- Main rectangles: Multiply the longest length and width for each simple room section.
- Closets and alcoves: Measure separately and add them when the same flooring continues into those areas.
- Permanent exclusions: Exclude fixed cabinets or islands only when flooring will not run beneath them.
- Transitions: Note doorways, stair noses, reducers and borders because they may need separate products.
- Package coverage: Record the exact usable area per unopened box from the manufacturer label.
Flooring Quantity and Box Calculation
Add the areas of all sections, multiply by one plus the waste percentage, and divide by coverage per box. Round the package result upward. Keep the unit used for area or volume consistent with the manufacturer's coverage information. Carry the calculated quantity forward, apply the waste or contingency allowance, then round up to the package, roll, container, sheet, bundle, or delivery quantity that can actually be purchased.
Step 1: Net Floor Area
Wall Area =
total area = section 1 area + section 2 area + additional sections
Each rectangular section equals length × width.
Step 2: Purchase Area
Paint Needed =
purchase area = net area × (1 + waste percentage ÷ 100)
Ten percent waste uses a multiplier of 1.10.
Step 3: Boxes
Paint Needed =
boxes = round up(purchase area ÷ coverage per box)
Do not round down even when the fraction is small.
Flooring Estimate for a Living Room and Closet
A living room measures 18 ft by 14 ft, and a closet measures 6 ft by 3 ft. The laminate covers 22 sq ft per box, and the straight layout uses 10% waste.
- Living room area = 18 × 14 = 252 sq ft
- Closet area = 6 × 3 = 18 sq ft
- Net area = 252 + 18 = 270 sq ft
- Purchase area = 270 × 1.10 = 297 sq ft
- Boxes = 297 ÷ 22 = 13.5
- Round up to 14 boxes and retain suitable spare planks
Factors That Change the Final Quantity
The formula gives the baseline. These jobsite details decide whether that baseline is enough for the actual order:
- Layout direction: Diagonal, herringbone and borders create more cuts than straight rows.
- Room shape: Many corners, columns and angled walls reduce offcut reuse.
- Product variation: Natural wood may need extra boards so color and character can be selected.
- Defects and damage: Transport damage or manufacturing defects should be covered by a realistic allowance.
- Future repairs: Matching products can disappear, making a small retained quantity valuable.
Practical Tips for Homeowners
These checks are small, but they are the kind that prevent an extra store run halfway through a Saturday project:
- Measure at floor level: Wall trim and room drawings may not represent the actual installation footprint.
- Use exact box coverage: Different colors or plank sizes in one product line can have different carton quantities.
- Order one production lot: Check batch, shade or lot identifiers before installation begins.
- Acclimate as directed: Follow manufacturer storage and acclimation rules without opening packages unnecessarily.
- Save unopened boxes: Confirm the retailer’s return policy before opening more material than the installer needs.
Common Estimating Mistakes to Avoid
The math is usually simple. The expensive mistakes come from weak measurements, optimistic coverage, and rounding too early:
- Forgetting closets: Small connected spaces can add enough area to require another box.
- Adding waste after rounding: Apply waste to area first, then divide by box coverage and round once.
- Using nominal room size: Real rooms can be wider or less square than plans suggest.
- Mixing square feet and meters: Convert area or package coverage so both use the same unit.
- Assuming all offcuts are reusable: Plank direction, locking profiles and pattern position can prevent reuse.
Turning the Estimate into a Material Order
Enter each room in the Flooring Calculator and combine areas when the same product and waste allowance apply. For several rooms connected through doorways, ask the installer whether board direction or transitions change the layout strategy. Compare the calculated requirement with the exact product specification, because nominal sizes and advertised coverage can differ from usable coverage. Round up to purchasable units and keep matching products, such as paint batches, wallpaper dye lots, flooring colors, or tile shades, in one order. For expensive, structural, hazardous, or unusually shaped projects, have a qualified supplier or contractor review the dimensions and assumptions before purchase.
Final Calculation Checklist
Before buying, confirm that the estimate answers the actual renovation question and includes every relevant surface or section.
- Measurements: All dimensions were checked twice and recorded with units.
- Project scope: Openings, closets, transitions, separate surfaces, and excluded areas were handled deliberately.
- Product data: Coverage, package size, pattern repeat, yield, or usable dimensions came from the selected product.
- Extra material: Waste or contingency reflects the layout, surface, installer experience, and repair needs.
- Final rounding: The result was rounded up to whole purchasable units after all adjustments.