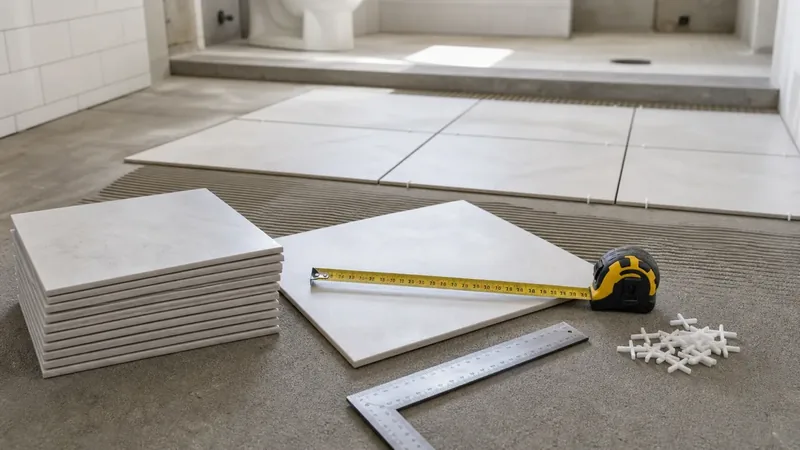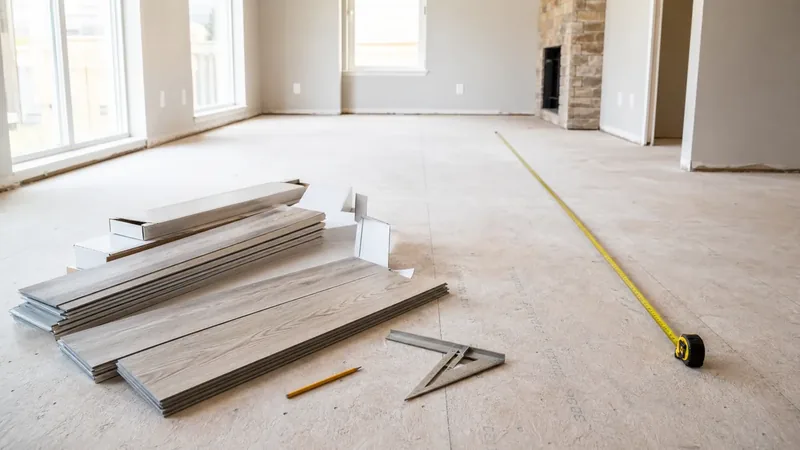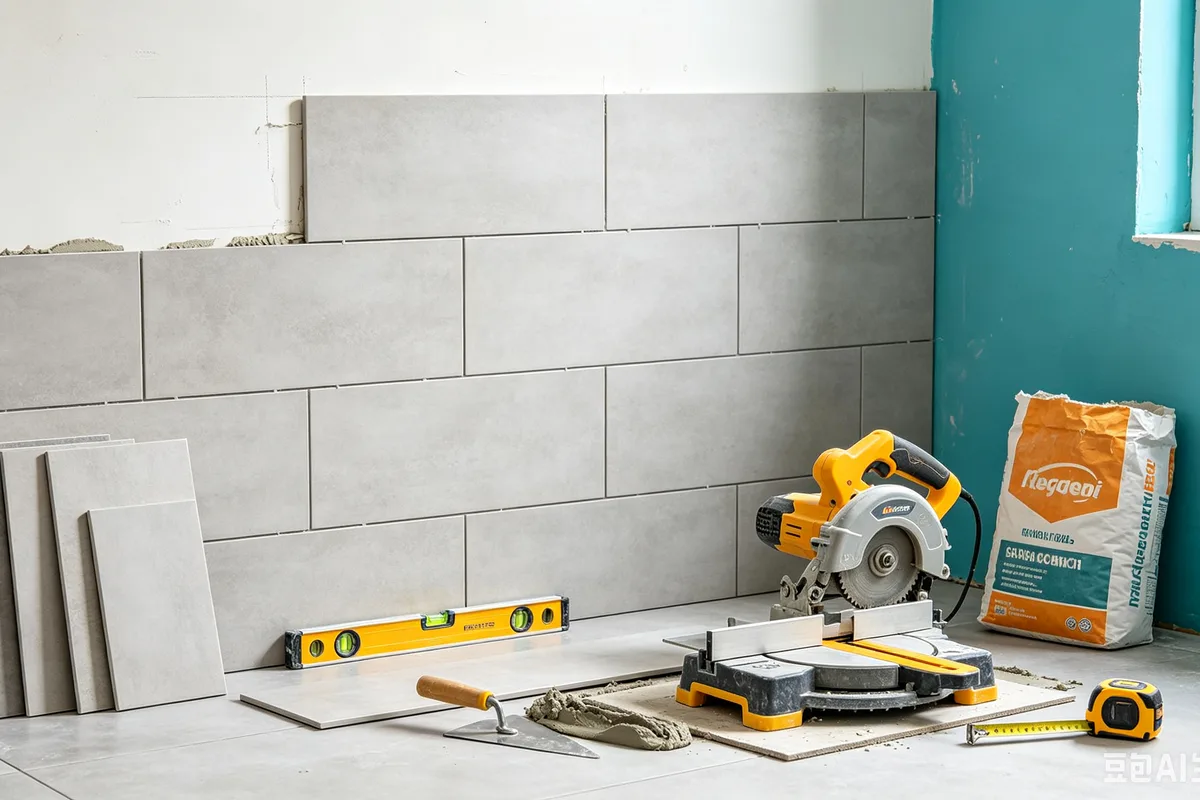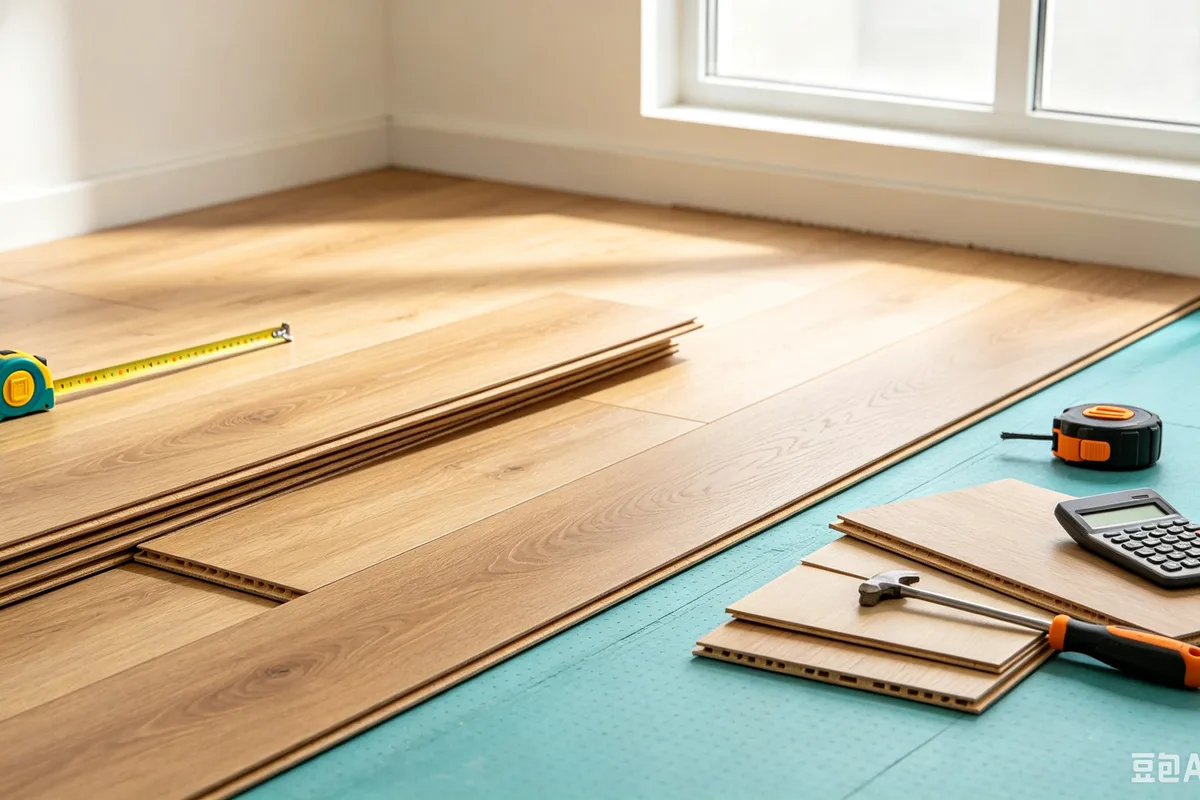

A small bathroom floor can look simple until the first box of tile is open and every doorway, toilet flange, and outside corner needs a cut. Tile projects reward planning because the material is sold in boxes, shade lots can vary, and broken cuts are part of the job. This guide focuses on the practical installation path for a bathroom floor, kitchen backsplash, or entryway: measure the area, confirm tile size, add waste for cuts, and use the Tile Calculator before buying cartons.
Introduction
For a 5 ft by 8 ft bathroom, the floor area is only 40 sq ft, but the order is rarely exactly 40 sq ft of tile. Cuts around the tub, doorway, toilet, and wall edges can easily add 10% waste, and diagonal layouts need more. A kitchen backsplash has the same issue on a smaller scale: outlets, ends, and pattern alignment can consume extra pieces. Measure first, calculate the tile quantity, and buy from the same lot before setting the first row.
Measure Your Installation Area
Before purchasing any tiles, you need to measure the installation area accurately. This is the foundation of your entire project and the most critical step for cost estimation. Start by gathering a reliable tape measure, a notepad, and a pencil. For rectangular rooms, measure the length and width of the space in inches or feet. For irregularly shaped areas, divide the space into smaller rectangles, measure each section separately, and add the areas together. Always measure at multiple points along each wall, as walls are rarely perfectly straight in older homes. Use the largest measurement to ensure you have enough material.
Step 1: Calculate Floor Area
Wall Area =
Area = Length × Width
Measure in feet for square footage or meters for square meters
Step 2: For Wall Areas
Paint Needed =
Wall Area = Width × Height
Subtract areas for doors, windows, and built-in fixtures
Choose the Right Tile Size
Selecting the right tile size affects both the visual impact of your installation and the difficulty of the project. Here are the most common tile sizes available at American home improvement stores and how each size impacts your project:
- 12×12 inch tiles: The most popular standard size for floor tiles. Easy to handle, versatile, and works well in bathrooms, kitchens, and entryways. Ideal for DIY beginners.
- 12×24 inch tiles: A modern rectangular format that creates a sleek, contemporary look. Popular for living areas and large bathrooms. Requires careful leveling during installation.
- Large format tiles (24×24 or bigger): Creates a seamless, spacious appearance with fewer grout lines. Best for open floor plans but requires a perfectly flat subfloor and professional-grade tools.
- Mosaic tiles (1×1 to 4×4 inch): Small tiles mounted on mesh sheets. Perfect for shower floors, backsplashes, and decorative accents. More forgiving on uneven surfaces.
- Subway tiles (3×6 inch): Classic rectangular tiles traditionally used for kitchen backsplashes and bathroom walls. Timeless appeal and easy to install in brick patterns.
How Tile Size Affects Your Project
The tile size you choose impacts three key aspects of your installation. Understanding these factors helps you make an informed decision:
- Quantity needed: Larger tiles cover more area per piece, meaning fewer total tiles. However, the cost per square foot often remains similar across sizes.
- Visual effect: Large tiles make small rooms appear bigger by minimizing grout lines. Small tiles create texture and visual interest but can make spaces feel busier.
- Installation difficulty: Larger tiles require a flatter subfloor and are harder to cut. Small tiles conform to uneven surfaces but require more grout work. Beginners should start with 12×12 inch tiles.
- Grout maintenance: Fewer grout lines with large tiles means less cleaning and maintenance over time. More grout lines with small tiles means more potential for staining and mildew.
Calculate How Many Tiles You Need
Once you have your area measurements and tile size selected, calculating the number of tiles needed is straightforward. The key is to account for waste from cutting, breakage, and future repairs. Always add a waste allowance of 10% to 15% to your total. This extra material covers tiles lost during cutting, damaged pieces, and replacements for future repairs. Running out of tiles mid-project is costly and risky, as dye lots can vary between production batches.
Step 1: Calculate Tile Area
Wall Area =
Tile Area = Tile Length × Tile Width
Convert inches to square feet by dividing by 144
Step 2: Calculate Tiles Needed
Paint Needed =
Tiles Needed = Total Area ÷ Tile Area
Round up to the nearest whole number
Step 3: Add Waste Allowance
Paint Needed =
Total Tiles = Tiles Needed × 1.15
Add 15% for waste, cutting, and future repairs
Tile Installation Tips
A successful tile installation requires careful preparation and attention to detail. Follow these professional tips to achieve results that look like they were done by a contractor:
- Prepare the surface thoroughly: The subfloor or wall must be clean, dry, level, and free of cracks. Use self-leveling compound for uneven floors and cement backer board for wet areas.
- Plan your layout before starting: Dry-lay tiles from the center of the room outward to ensure balanced cuts on both sides. Avoid sliver cuts less than half a tile width at edges.
- Use consistent tile spacers: Plastic spacers ensure uniform grout lines. Use 1/8 inch for floors and 1/16 inch for walls. Remove spacers before grouting.
- Check alignment frequently: Use a spirit level every few rows to ensure tiles are flat and aligned. Adjust mortar thickness to correct minor height differences immediately.
- Mix thinset properly: Follow manufacturer water ratios exactly. Too wet causes tiles to slip; too dry prevents proper adhesion. Let the mixture slake for 10 minutes before use.
- Work in small sections: Apply mortar to no more than 3 square feet at a time. This prevents the thinset from skinning over before tiles are placed.
Common Tile Installation Mistakes
Even experienced DIYers can fall victim to these common tiling mistakes. Knowing what to watch for can save you time, money, and frustration:
- Inaccurate measurements: Failing to measure multiple points along walls leads to uneven tile layouts. Always measure at three points and use the largest dimension for ordering.
- Buying too few tiles: Running out of tiles mid-project means risking dye lot mismatches. Always order 10-15% extra and keep leftovers for future repairs.
- Ignoring waste allowance: Cutting tiles around corners, drains, and fixtures generates significant waste. Budget for breakage and miscuts, especially with natural stone tiles.
- Using the wrong adhesive: Different tiles require specific thinset formulations. Large format tiles need medium-bed mortar, while natural stone requires white thinset to prevent bleeding.
- Skipping surface preparation: Installing tiles over cracked or uneven surfaces guarantees future failures. Repair cracks, install backer board, and prime surfaces before tiling.
- Rushing the grouting process: Applying grout too quickly or not cleaning excess promptly leaves haze that is difficult to remove. Work in small sections and clean as you go.