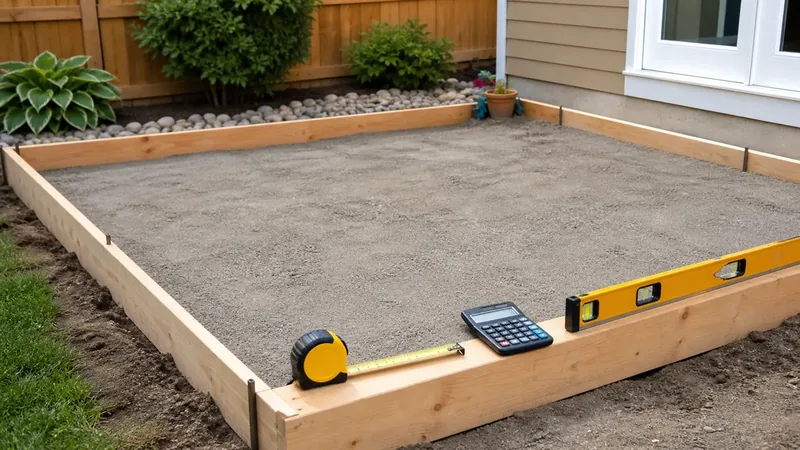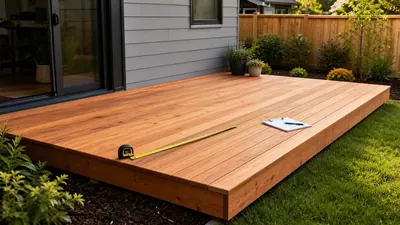

A deck estimate begins with surface area, but a build requires much more than enough boards to cover a rectangle. Board width, gaps, direction, borders and waste affect decking quantity, while joists, beams, posts, footings, ledger connections, fasteners, stairs and guards depend on a code-compliant structural design. This guide helps homeowners organize an early material budget without pretending that an area calculator can engineer a deck. It explains how to measure the proposed footprint, calculate deck surface, estimate board-line coverage, and identify the separate categories that should appear in a contractor quote or planning worksheet. Before choosing dimensions, confirm property setbacks, underground utilities, door clearance, drainage, access and permit requirements. The structure must be designed for local loads, soil, frost depth, height and attachment conditions by someone qualified to apply the relevant code. Use the Deck Calculator to compare possible sizes and surface area. Then use actual product dimensions and an approved framing plan to prepare a detailed takeoff. Early organization improves budget conversations while keeping structural decisions in the hands of appropriate professionals.
Separate Surface Materials from Structural Materials
Decking boards form the walking surface. Joists support those boards, beams support joists, and posts and footings transfer loads to the ground. Railings, stairs and connections are additional systems. Surface area can estimate coatings and provide a starting point for decking, but it does not determine safe spans, member sizes or footing requirements. Each category needs its own dimensions, quantities and approved details. Keep the estimate tied to a real purchase decision: the package size on the shelf, the coverage printed on the label, and the waste created by cuts, seams, edges, or uneven surfaces. A short note with room dimensions, units, product coverage, and waste allowance makes it easier to compare store quotes and catch a bad assumption before materials are ordered.
What to Measure Before You Calculate
Measure the finished surface the material will actually cover. Use one unit system, label each wall or floor section on a quick sketch, and keep product coverage beside the measurement notes. Start with the finished footprint and a site sketch. Record elevation, house connection, stairs, openings, borders and the direction boards will run, but obtain structural spacing from an approved design.
- Deck length and width: Measure the finished rectangular footprint and divide complex shapes into sections.
- Board dimensions: Use actual installed width, thickness and available lengths rather than nominal names.
- Board direction: Direction and borders affect cut lengths, seams, blocking and waste.
- Perimeter and elevation: These influence fascia, guards, stairs and access planning.
- Structural plan: Record approved joist, beam, post and footing information separately.
Deck Surface and Preliminary Board Calculation
Calculate surface area first. For a simple preliminary board estimate, divide the dimension perpendicular to the boards by installed board width plus gap, then multiply rows by board-run length. Actual lengths and seams must be laid out. Keep the unit used for area or volume consistent with the manufacturer's coverage information. Carry the calculated quantity forward, apply the waste or contingency allowance, then round up to the package, roll, container, sheet, bundle, or delivery quantity that can actually be purchased.
Step 1: Deck Area
Wall Area =
deck area = deck length × deck width
Add separate rectangles for complex footprints.
Step 2: Approximate Rows
Paint Needed =
rows = round up(deck width ÷ installed board module)
Board module equals actual width plus planned gap.
Step 3: Purchase Allowance
Paint Needed =
adjusted decking = base decking × (1 + waste percentage ÷ 100)
Borders and diagonals usually need more waste.
Simple Deck Surface Example
A proposed rectangular deck is 16 ft long by 12 ft wide. Early budgeting uses 10% decking waste before an approved framing and board layout is completed.
- Deck area = 16 × 12 = 192 sq ft
- Adjusted surface allowance = 192 × 1.10 = 211.2 sq ft
- Use 211.2 sq ft only for preliminary decking-price comparison
- Convert actual board width, gaps and stock lengths into rows and pieces during layout
- Estimate framing, footings, connections, stairs, guards and fasteners from approved plans rather than surface area
Factors That Change the Final Quantity
The formula gives the baseline. These jobsite details decide whether that baseline is enough for the actual order:
- Board direction: Diagonal installation and picture-frame borders increase cuts and blocking.
- Stock lengths: Available lengths determine seams, offcuts and whether boards span the full run.
- Deck shape: Angles, bump-outs and curves reduce material efficiency.
- Height and access: Stairs, guards and landings can be substantial separate quantities.
- Site conditions: Soil, frost, drainage and house attachment affect structural design.
Practical Tips for Homeowners
These checks are small, but they are the kind that prevent an extra store run halfway through a Saturday project:
- Confirm permits early: Setbacks and review requirements can change size or placement.
- Use actual board sizes: Nominal lumber names do not equal installed coverage.
- Plan drainage: Maintain gaps and site grading that move water away from the structure.
- Price accessories: Fascia, trim, fasteners, connectors and rail components add meaningful cost.
- Keep structural documents: Approved plans help suppliers quote the correct member quantities.
Common Estimating Mistakes to Avoid
The math is usually simple. The expensive mistakes come from weak measurements, optimistic coverage, and rounding too early:
- Using area for framing: Square footage cannot determine spans, beams, posts or footings.
- Forgetting actual width: Nominal board width and installed coverage are different.
- Ignoring borders: Picture frames require extra boards, blocking and careful cuts.
- Omitting stairs and guards: These can represent a large share of labor and material.
- Building before approval: Permit, utility and property issues are much harder to fix after construction starts.
Turning the Estimate into a Material Order
Use the Deck Calculator to compare footprints, then create separate worksheet sections for decking, framing, foundations, connectors, fasteners, fascia, guards, stairs and finishes. Ask the designer, building department and supplier to review the relevant portions before ordering. Compare the calculated requirement with the exact product specification, because nominal sizes and advertised coverage can differ from usable coverage. Round up to purchasable units and keep matching products, such as paint batches, wallpaper dye lots, flooring colors, or tile shades, in one order. For expensive, structural, hazardous, or unusually shaped projects, have a qualified supplier or contractor review the dimensions and assumptions before purchase.
Final Calculation Checklist
Before buying, confirm that the estimate answers the actual renovation question and includes every relevant surface or section.
- Measurements: All dimensions were checked twice and recorded with units.
- Project scope: Openings, closets, transitions, separate surfaces, and excluded areas were handled deliberately.
- Product data: Coverage, package size, pattern repeat, yield, or usable dimensions came from the selected product.
- Extra material: Waste or contingency reflects the layout, surface, installer experience, and repair needs.
- Final rounding: The result was rounded up to whole purchasable units after all adjustments.