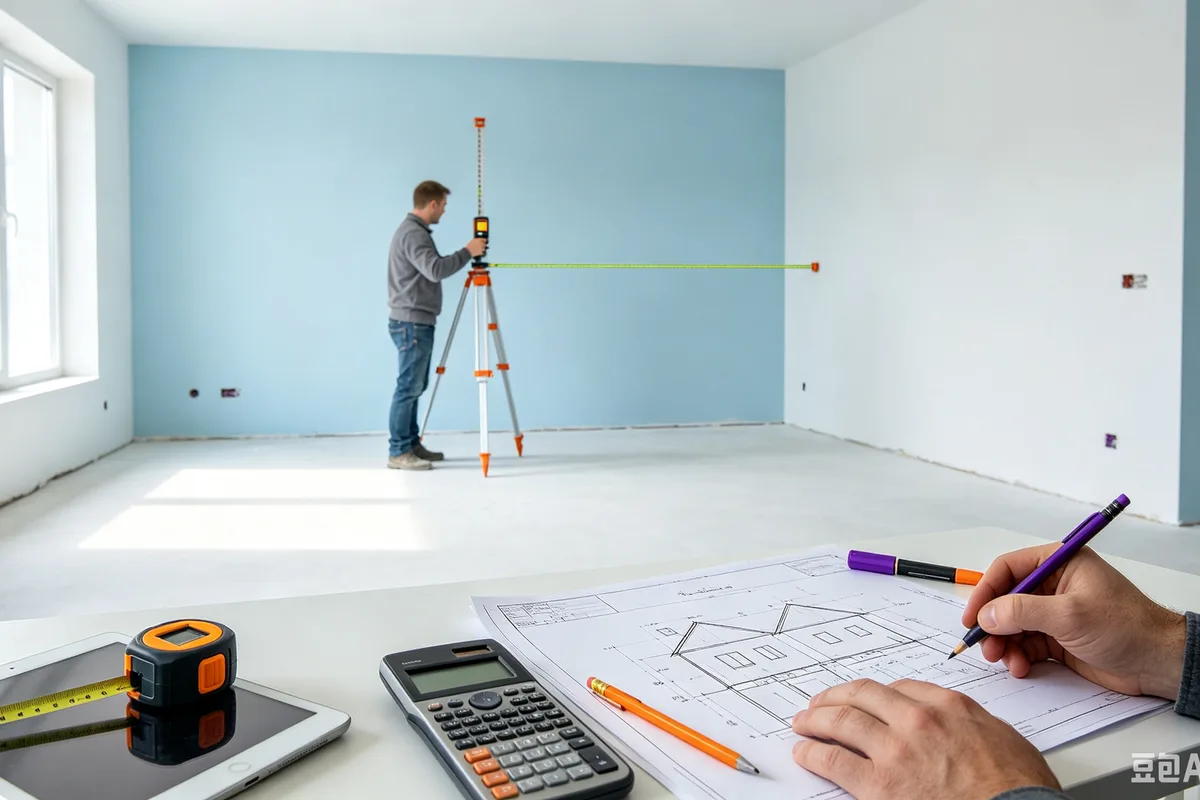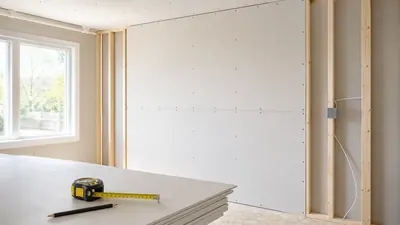

Drywall is purchased as full sheets, but a good estimate must consider wall and ceiling area, panel dimensions, framing layout, openings and usable offcuts. Simply dividing total area by 32 square feet can be a helpful start for standard 4 ft by 8 ft panels, yet it does not show whether seams land on framing or whether narrow pieces can be reused. This guide explains how homeowners can measure walls and ceilings, calculate the coverage of common sheets, round up the base quantity, and choose a practical waste allowance. It also covers why doors and windows should not always be subtracted completely, how taller panels can reduce horizontal seams, and why board type and thickness must match the assembly. Moisture-resistant, fire-rated and ceiling applications may require separate products even within one room. Use a wall sketch showing studs, corners and openings, and calculate product types separately. The Drywall Calculator checks area-based sheet quantity, while a final layout review helps prevent excessive seams, unsupported edges and a shortage of full panels.
Drywall Area Is Only the Starting Point
Area tells you how much surface must be covered. Sheet layout determines whether that coverage can be used efficiently. A standard 4 ft by 8 ft sheet covers 32 sq ft, but a 9 ft wall may be better served by a longer panel that reduces seams. Doors and windows create cutouts that sometimes provide useful pieces and sometimes become waste. Ceilings, fire separations and wet areas may need products that cannot be combined in one count. Keep the estimate tied to a real purchase decision: the package size on the shelf, the coverage printed on the label, and the waste created by cuts, seams, edges, or uneven surfaces. A short note with room dimensions, units, product coverage, and waste allowance makes it easier to compare store quotes and catch a bad assumption before materials are ordered.
What to Measure Before You Calculate
Measure the finished surface the material will actually cover. Use one unit system, label each wall or floor section on a quick sketch, and keep product coverage beside the measurement notes. Measure every wall width and height, ceilings separately, and record openings and framing direction on a sketch. Group surfaces only when they use the same board.
- Wall area: Multiply each wall width by height and add walls using the same drywall type.
- Ceiling area: Multiply room length by width and keep the ceiling count identifiable.
- Sheet size: Record actual length, width, thickness and coverage for the selected panel.
- Openings: Note doors and windows for layout rather than automatically subtracting every square foot.
- Special assemblies: Separate moisture, fire, impact and cementitious panels from standard drywall.
Drywall Sheet Calculation
Add surface areas using the same panel, divide by coverage per sheet and round up. Review the panel layout and add waste for corners, openings, damage and unusable offcuts. Keep the unit used for area or volume consistent with the manufacturer's coverage information. Carry the calculated quantity forward, apply the waste or contingency allowance, then round up to the package, roll, container, sheet, bundle, or delivery quantity that can actually be purchased.
Step 1: Surface Area
Wall Area =
total area = sum of wall and ceiling section areas
Each rectangle equals width × height.
Step 2: Sheet Coverage
Paint Needed =
sheet coverage = sheet length × sheet width
A 4 ft × 8 ft sheet covers 32 sq ft.
Step 3: Sheet Count
Paint Needed =
round up(total area ÷ sheet coverage × waste factor)
Confirm the result with a seam layout.
Drywall Estimate for a Small Room
A 12 ft by 10 ft room has 8 ft walls, one 21 sq ft door, two 12 sq ft windows and a 120 sq ft ceiling. Standard panels cover 32 sq ft.
- Gross wall area = 2 × (12 + 10) × 8 = 352 sq ft
- Openings = 21 + 12 + 12 = 45 sq ft
- Net wall area = 307 sq ft
- Add ceiling: 307 + 120 = 427 sq ft
- Base sheets = 427 ÷ 32 = 13.34, rounded to 14
- Review layout and consider 15 sheets for modest waste, while keeping ceiling and wall board specifications correct
Factors That Change the Final Quantity
The formula gives the baseline. These jobsite details decide whether that baseline is enough for the actual order:
- Framing spacing: Panel edges and seams must land on suitable framing or approved backing.
- Wall height: Longer panels can reduce seams and offcuts on tall walls.
- Openings: Cutouts may not reduce full-sheet count when surrounding sections need continuous panels.
- Corners and soffits: Many short surfaces produce pieces that are difficult to reuse.
- Board type: Different assemblies require independent quantities and cannot be substituted casually.
Practical Tips for Homeowners
These checks are small, but they are the kind that prevent an extra store run halfway through a Saturday project:
- Plan seams first: Lay out sheets so tapered edges meet and unsupported joints are avoided.
- Use suitable lengths: Long panels may reduce joints, but access, handling and room geometry matter.
- Protect delivery: Store sheets flat, dry and supported to prevent broken corners and sagging.
- Separate ceilings: Confirm thickness, fastener schedule and sag resistance for overhead work.
- Check local requirements: Garages and fire separations may require rated assemblies.
Common Estimating Mistakes to Avoid
The math is usually simple. The expensive mistakes come from weak measurements, optimistic coverage, and rounding too early:
- Subtracting every opening: The cutout does not always eliminate a full sheet from the layout.
- Ignoring access: A long sheet is not useful if it cannot pass through doors or turn into the room.
- Combining board types: Standard, moisture-resistant and fire-rated panels need separate totals.
- Rounding down: A fraction of a sheet still requires another full panel.
- Skipping layout: Area alone cannot confirm framing support and efficient seam placement.
Turning the Estimate into a Material Order
Enter combined area and actual sheet coverage into the Drywall Calculator, then sketch each wall and ceiling to check seam locations. Add enough spare material for realistic cuts without creating an excessive stack that is hard to store. Compare the calculated requirement with the exact product specification, because nominal sizes and advertised coverage can differ from usable coverage. Round up to purchasable units and keep matching products, such as paint batches, wallpaper dye lots, flooring colors, or tile shades, in one order. For expensive, structural, hazardous, or unusually shaped projects, have a qualified supplier or contractor review the dimensions and assumptions before purchase.
Final Calculation Checklist
Before buying, confirm that the estimate answers the actual renovation question and includes every relevant surface or section.
- Measurements: All dimensions were checked twice and recorded with units.
- Project scope: Openings, closets, transitions, separate surfaces, and excluded areas were handled deliberately.
- Product data: Coverage, package size, pattern repeat, yield, or usable dimensions came from the selected product.
- Extra material: Waste or contingency reflects the layout, surface, installer experience, and repair needs.
- Final rounding: The result was rounded up to whole purchasable units after all adjustments.