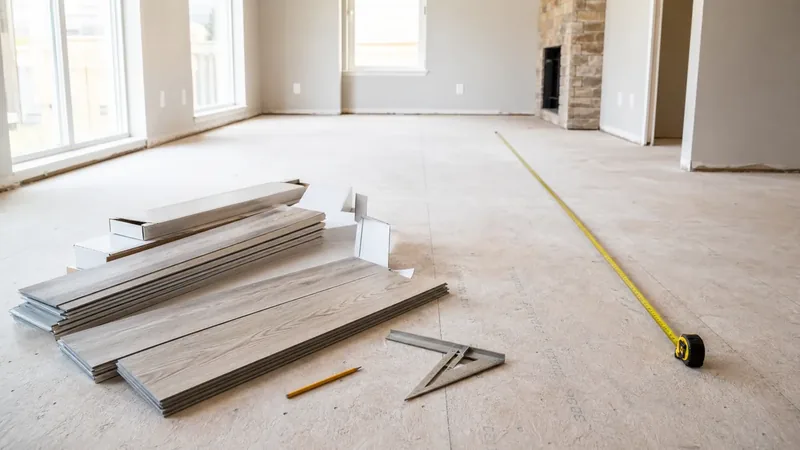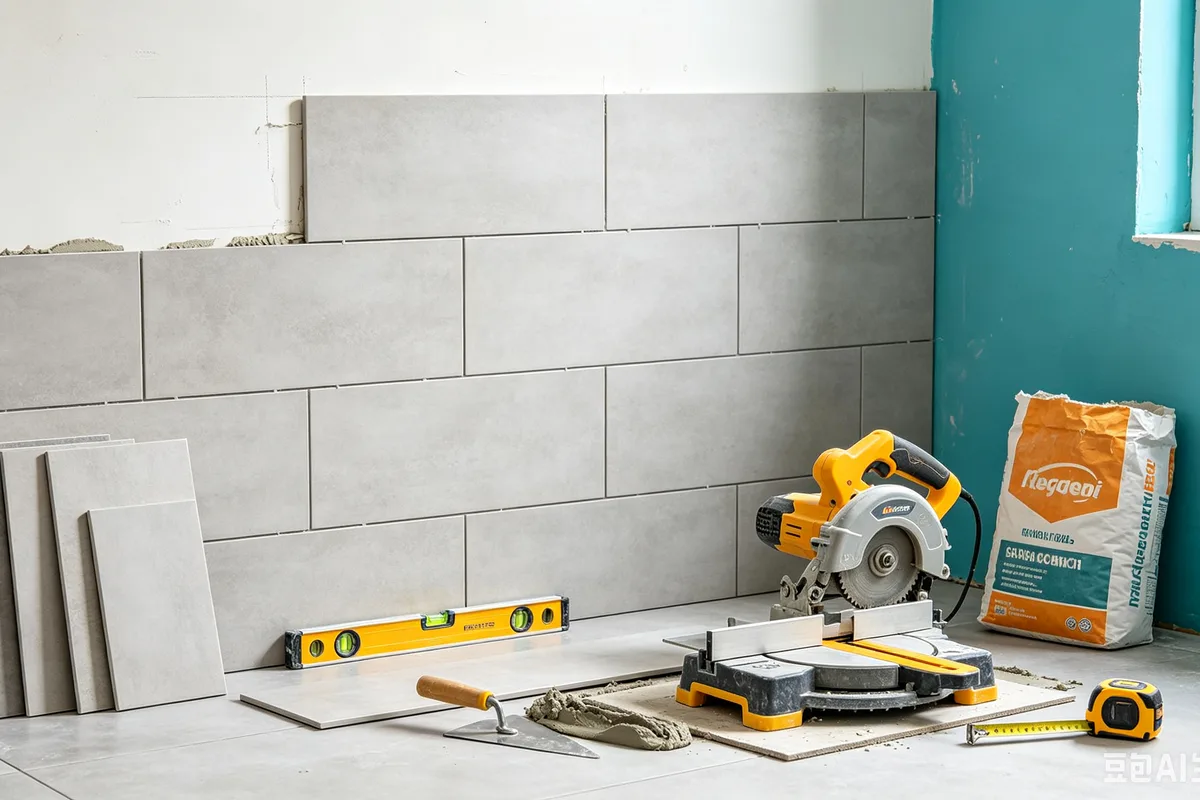

A tile order must cover the surface, provide pieces for cuts, and leave enough flexibility for breakage and future repairs. Counting only the visible square footage can leave a homeowner short when edge cuts, diagonal layouts, niches, borders, or damaged pieces are considered. This guide explains how to measure a floor or wall, calculate the area of one tile, divide project area by tile coverage, add a layout-specific waste allowance, and convert the result into whole tiles or cartons. The method works for bathroom floors, shower walls, kitchen backsplashes, entryways, and other rectangular surfaces. It also explains why grout joints usually do not reduce the shopping quantity in a useful way and why tile dimensions must be converted into the same unit as the room. Begin with a sketch showing every tiled section and opening. Use the Tile Calculator to check the arithmetic, then compare the result with the quantity and coverage printed on the exact carton. Order matching shade and caliber information together whenever possible, and retain a few tiles for repairs after installation.
The Three Parts of a Tile Estimate
A useful tile estimate combines project area, coverage per tile, and waste. Project area describes the floor or wall to be covered. Tile coverage comes from the actual face dimensions. Waste accounts for cuts, layout, breakage, selection and spare material. Carton count is a final conversion because tiles are often sold only in full boxes. A complex layout can require more tile than a larger but simpler rectangle. Keep the estimate tied to a real purchase decision: the package size on the shelf, the coverage printed on the label, and the waste created by cuts, seams, edges, or uneven surfaces. A short note with room dimensions, units, product coverage, and waste allowance makes it easier to compare store quotes and catch a bad assumption before materials are ordered.
What to Measure Before You Calculate
Measure the finished surface the material will actually cover. Use one unit system, label each wall or floor section on a quick sketch, and keep product coverage beside the measurement notes. Measure each surface separately, convert tile dimensions before multiplying, and record the planned layout because it determines where cuts occur.
- Surface dimensions: Measure the longest length and width of every rectangular floor or wall section.
- Openings: Subtract large un-tiled openings deliberately, but allow for cuts around their edges.
- Tile dimensions: Use actual tile length and width, converted from inches or centimeters when necessary.
- Layout: Note straight, offset, diagonal, herringbone, border and feature-pattern areas.
- Carton quantity: Record tiles and stated coverage per box from the selected product.
Tile Count and Waste Calculation
Divide the tiled surface area by one tile’s face area, round up, and increase the count for layout waste. If purchasing cartons, divide the adjusted count by tiles per carton and round upward again. Keep the unit used for area or volume consistent with the manufacturer's coverage information. Carry the calculated quantity forward, apply the waste or contingency allowance, then round up to the package, roll, container, sheet, bundle, or delivery quantity that can actually be purchased.
Step 1: Tile Coverage
Wall Area =
tile area = tile length × tile width
Convert both tile dimensions to the room’s base unit first.
Step 2: Tiles Required
Paint Needed =
round up(project area ÷ tile area × waste factor)
A 10% allowance uses 1.10.
Step 3: Cartons
Paint Needed =
round up(adjusted tile count ÷ tiles per carton)
Check the carton for exact quantity and coverage.
Bathroom Floor Tile Example
A bathroom floor measures 10 ft by 8 ft. The chosen tile measures 12 in by 24 in, and the straight layout uses a 10% allowance.
- Floor area = 10 × 8 = 80 sq ft
- Tile dimensions = 1 ft × 2 ft
- Tile area = 2 sq ft
- Base count = 80 ÷ 2 = 40 tiles
- Adjusted count = 40 × 1.10 = 44 tiles
- If each carton contains 8 tiles, 44 ÷ 8 = 5.5, so buy 6 cartons
Factors That Change the Final Quantity
The formula gives the baseline. These jobsite details decide whether that baseline is enough for the actual order:
- Diagonal layouts: More perimeter cuts usually justify a larger waste percentage.
- Pattern and shade: Visual selection can remove otherwise usable pieces from the installation.
- Room geometry: Columns, curves, niches and many corners create offcuts.
- Tile size: Large-format pieces can create significant waste when a narrow remainder cannot be reused.
- Repair stock: Matching color and caliber may be unavailable years later.
Practical Tips for Homeowners
These checks are small, but they are the kind that prevent an extra store run halfway through a Saturday project:
- Dry-plan the layout: Check edge cuts and focal lines before setting tile.
- Verify actual dimensions: Nominal dimensions may not match the measured face size.
- Buy one shade lot: Check carton markings before installation and blend boxes when recommended.
- Inspect deliveries: Report broken cartons and obvious shade issues before work begins.
- Store spare tiles: Keep clean, labeled repair pieces in a dry protected location.
Common Estimating Mistakes to Avoid
The math is usually simple. The expensive mistakes come from weak measurements, optimistic coverage, and rounding too early:
- Mixing inches and feet: A 12-inch tile is one foot, not twelve feet.
- Ignoring waste: An exact area division assumes every offcut is reusable and no tile breaks.
- Rounding too early: Keep decimals through the calculation and round whole purchase units upward.
- Using carton area blindly: Confirm whether listed coverage reflects the exact tile and package quantity.
- Forgetting walls: Shower and backsplash surfaces must be measured separately from floors.
Turning the Estimate into a Material Order
Enter the surface and tile dimensions in the Tile Calculator, select waste appropriate to the layout, and compare the result with cartons. Ask an installer to review complicated borders, diagonal work, large-format tile and waterproofed showers. Compare the calculated requirement with the exact product specification, because nominal sizes and advertised coverage can differ from usable coverage. Round up to purchasable units and keep matching products, such as paint batches, wallpaper dye lots, flooring colors, or tile shades, in one order. For expensive, structural, hazardous, or unusually shaped projects, have a qualified supplier or contractor review the dimensions and assumptions before purchase.
Final Calculation Checklist
Before buying, confirm that the estimate answers the actual renovation question and includes every relevant surface or section.
- Measurements: All dimensions were checked twice and recorded with units.
- Project scope: Openings, closets, transitions, separate surfaces, and excluded areas were handled deliberately.
- Product data: Coverage, package size, pattern repeat, yield, or usable dimensions came from the selected product.
- Extra material: Waste or contingency reflects the layout, surface, installer experience, and repair needs.
- Final rounding: The result was rounded up to whole purchasable units after all adjustments.